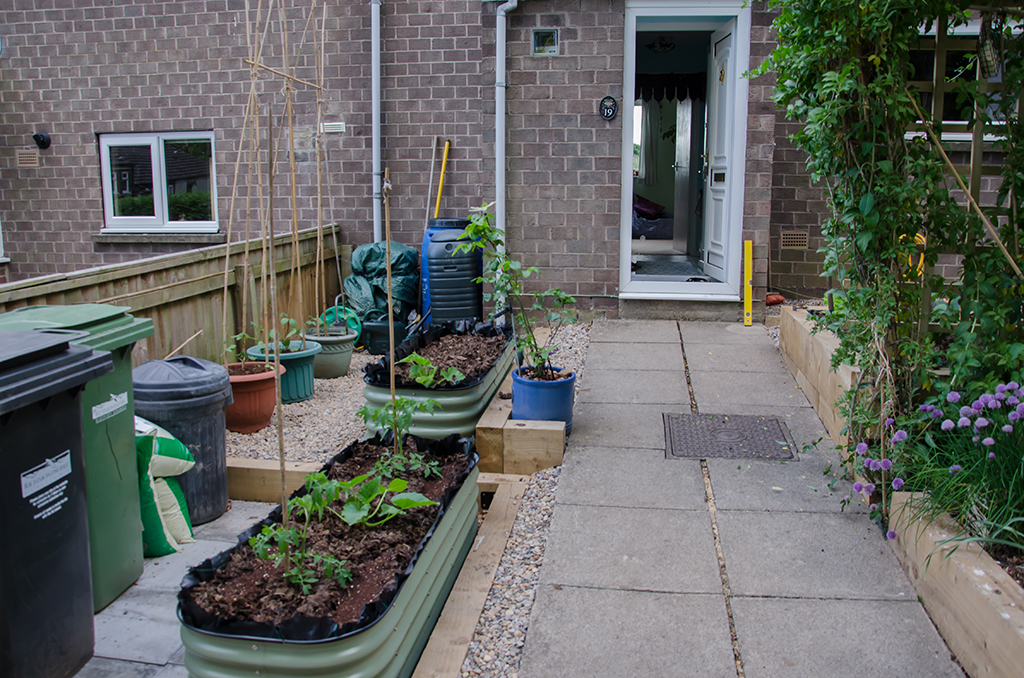
Kitchen Garden Reloaded Design – Make

Phase One
Before I can start any groundworks that are part of this design, I need to clear the working area, this involved a fair amount of work and time.
- Remove all my hidden treasure from under the tarp
- Takedown the raised beg and bag up the soil
- Bag up composted compost
- Dig out compost bin and move to a new compost area
- Move wormery, this is easy
- Move the leaf mulch to a new location
After moving all the compost systems along with the raised bed and relocating all the tat, I dug out the soil where the sleepers will be used to level the ground and hold it away from the fence.
This was hard work and I soon discovered that using a hand saw to cut sleepers was not going to be something I was going to be doing again, along with trying to hand screw the sleeper brackets to hold the sleepers together. An investment of a circular saw along with a combi drill soon paid off.
As I continued levelling the different sections it became apparent I was going to have far more soil than I expected. This left only one thing and that was to start and fill one of the ton bags the gravel came in. At this point, I had no idea what I was going to do with the extra soil.
Once levelled I used a heavy-duty weed control fabric membrane over the soil and left a gap between the soil and the sleepers to backfill with gravel to give a little protection to the sides of the sleepers from the soil.
Covering the area with gravel felt good, I was now starting to see the design take shape.
I laid the pathing slabs where the bins were to go and the new composting area. With this complete, it was time to move on to phase two.
Phase two
Phase two began with digging back the soil from the front of the bed that had the most slope in the garden. This is the bed where the soil always wanted to be on the path.
Once the soil had been dug back, I installed an L-shape sleeper construction to the lowest sides creating a much more level bed. For the other two sides, I dug in a steel edging. This same steel edging I used around the top bed to help hold the soil in place.
Before moving onto the next bed, I also planted a few seeds, the growing season was now upon me.
Now it was time to build the final sleeper bed with the trellis.
Working in a small space garden I was constantly having to move my collection of compost and tat around the garden to allow me to work. It was somewhat frustrating having very little space to work in all the time.
This bed probably had the most measuring out of everything I had created so far. It’s also the first full sleeper bed in the garden made up of four sides, hence why it involved lots of measuring and remeasuring to make sure the angles were all correct. The bed turned out well.
Over the years I’ve made quite a few trellises out of slaters lath, and I soon built this one, the power tools made it my quickest trellis by far, I love my combi drill.
Phase three
Phase three began with once again moving tat around the garden to give me some space to work. At this point, the compost bags were getting less having emptied many of them into the new beds as I went along.
One good thing about having lots of bags and tarps is that anything under them dies off, in this case, the grass.
Once I had cleared my next workspace with the grass already gone, all left to do was level the area ready for the gravel.
Phase Five
The planting up phase. By far the most simple of tasks made so much easier now by having a garden free of clutter.


